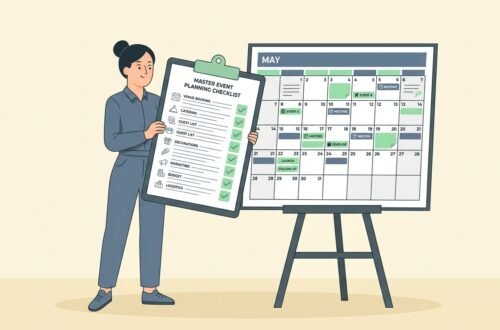
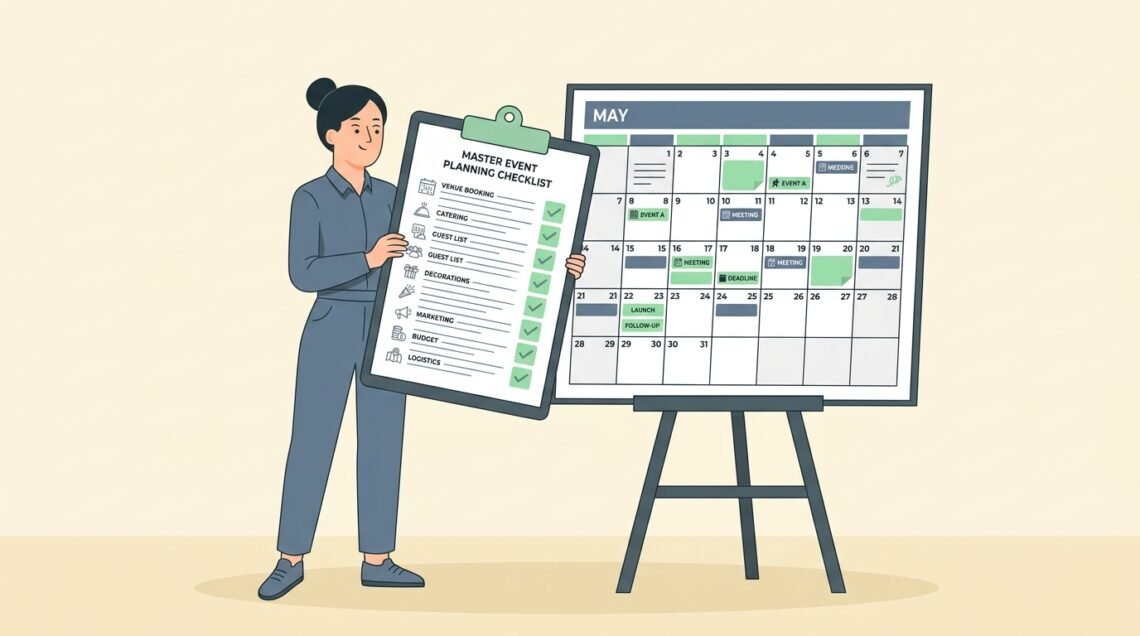
Organizing a live event without a written operational schedule is like driving across the country without a map. A single missed permit deadline, unconfirmed caterer, or weak Wi-Fi router can ruin months of hard work.
Using a structured event planning checklist is the single best way to control your timeline, manage staff, and keep your budget on track. If you host a 50-person corporate workshop or a 5,000-person outdoor festival, having a step-by-step master document ensures no critical detail slips through the cracks.
This master guide provides a chronological, six-phase event planning timeline. You will learn how to set financial goals, select venues, coordinate vendor contracts, execute day-of gate operations, and conduct post-event reconciliations.
Key Takeaways
- Start Planning Early: Large-scale events require a 9-to-12-month timeline, while smaller corporate workshops require 3 to 5 months.
- Calculate Financial Floors: Establish minimum break-even floor pricing with a strict 15% budget contingency buffer before signing venue contracts.
- Isolate Gate Troubleshooting: Redirect unreadable tickets immediately to a separate Resolution Desk to maintain 25, 30 scans per minute at main gates.
- Deploy Offline Local Networks: Protect entrance throughput by running check-in hardware on private local LAN routers rather than public venue Wi-Fi.
- Reconcile Post-Event Within 48 Hours: Send attendee surveys within 48 hours for 60% higher response rates and complete vendor financial reconciliations within 5 days.
What You’ll Need
Before starting your event planning timeline, assemble the following core documents and tools:
- Master event budget spreadsheet with a 15% unexpected expense buffer
- A digital project management board or shared folder for team task assignments
- Contact details for preferred venue locations, caterers, audio-visual suppliers, and rental agencies
- Municipal permit requirements, zoning guidelines, and public safety regulations
- Ticketing platform portal access for credential management and online sales
- Emergency contact cards for key event staff, venue managers, and local emergency services
Phase 1: 12 to 6 Months Out (Foundation and Strategy)
The early phase of event planning establishes your financial floor, core team structure, and primary venue contract.
Step 1: Define Event Goals and Target Audience
Start your planning by establishing measurable event objectives. Are you hosting to generate net profit, launch a new product, or build brand awareness? Define your target attendee count, target revenue, and key performance indicators.
Knowing your audience dictates your venue choice, ticket pricing, and promotional channels. If you are starting your career in the event industry, read our guide on what event planners need to know to understand how professional coordinators structure initial client briefs.
A clear goal statement specifies exact target attendance figures, expected revenue, and core attendee demographics before signing venue contracts.
Step 2: Establish Your Master Event Budget
Build a detailed expense model before spending money. Divide your budget into fixed costs (venue rental, stage build, speaker fees, marketing) and variable costs per attendee (catering, lanyards, gift bags, merchant processing fees).
Add a 15% contingency reserve to your master budget to absorb unexpected price increases or extra guard fees. For detailed financial formulas on balancing margins and floor prices, see our guide on how to price event tickets.
A solid budget lists every anticipated expense item, specifies payment due dates, and establishes maximum spending limits per category.
Step 3: Select and Secure Your Event Venue
Your venue selection dictates your crowd capacity, technical capabilities, and physical security setup. Visit at least three prospective spaces in person before signing a contract.
Check critical venue infrastructure: available electrical power circuits, loading dock dimensions, emergency exit capacity, cell signal strength, and accessibility. According to operational guidelines in PCMA’s event planning master checklist, unannounced venue site visits reduce unexpected technical issues by over 35%.
A completed venue agreement confirms rental dates, load-in and load-out access hours, cleanup responsibilities, and dedicated staff access.
Phase 2: 6 to 3 Months Out (Vendor Coordination and Marketing)
With your foundation set, focus on securing key suppliers, launching online ticket sales, and finalizing speaker contracts.
Step 4: Contract Key Event Vendors
Book your high-priority vendors four to six months before event day. Secure contracts with caterers, audio-visual technicians, decorators, security guard agencies, and equipment rental suppliers.
Provide written scope requirements to each vendor. Specify exact equipment arrival times, power needs, room access permissions, and cancellation terms. Obtain certificates of insurance from every contracted vendor listing your organization as an additionally insured party.
Secured vendor management results in signed contracts, paid deposit receipts, and confirmed technical equipment delivery schedules filed in your central folder.
Step 5: Launch Your Digital Ticketing Platform
Set up your online registration portal early to generate initial cash flow and track buyer demand velocity. Configure your ticket tiers, including early-bird discounts, standard passes, and VIP options.
For a broader look at organizing your entire event operation alongside ticket architecture, consult our complete event planning guide.
A launched ticketing portal displays clear tier pricing, working payment processing, and automated email ticket delivery receipts.
Step 6: Begin Promotional Campaigns
Roll out your marketing strategy across email, social media, partner channels, and industry publications. Share high-value content highlighting keynote speakers, panel topics, or exclusive event entertainment.
Set strict deadlines for early-bird pricing to build purchase urgency. Track promotional campaign links to see which marketing channels drive ticket sales conversions.
Active promotion yields steady weekly ticket sales, growing social engagement, and documented referral source tracking.
Phase 3: 3 to 1 Month Out (Logistics and Technical Setup)
The final prep window focuses on detailed operational schedules, floor plan layouts, and equipment inventories.
Step 7: Draft the Detailed Event Floor Plan
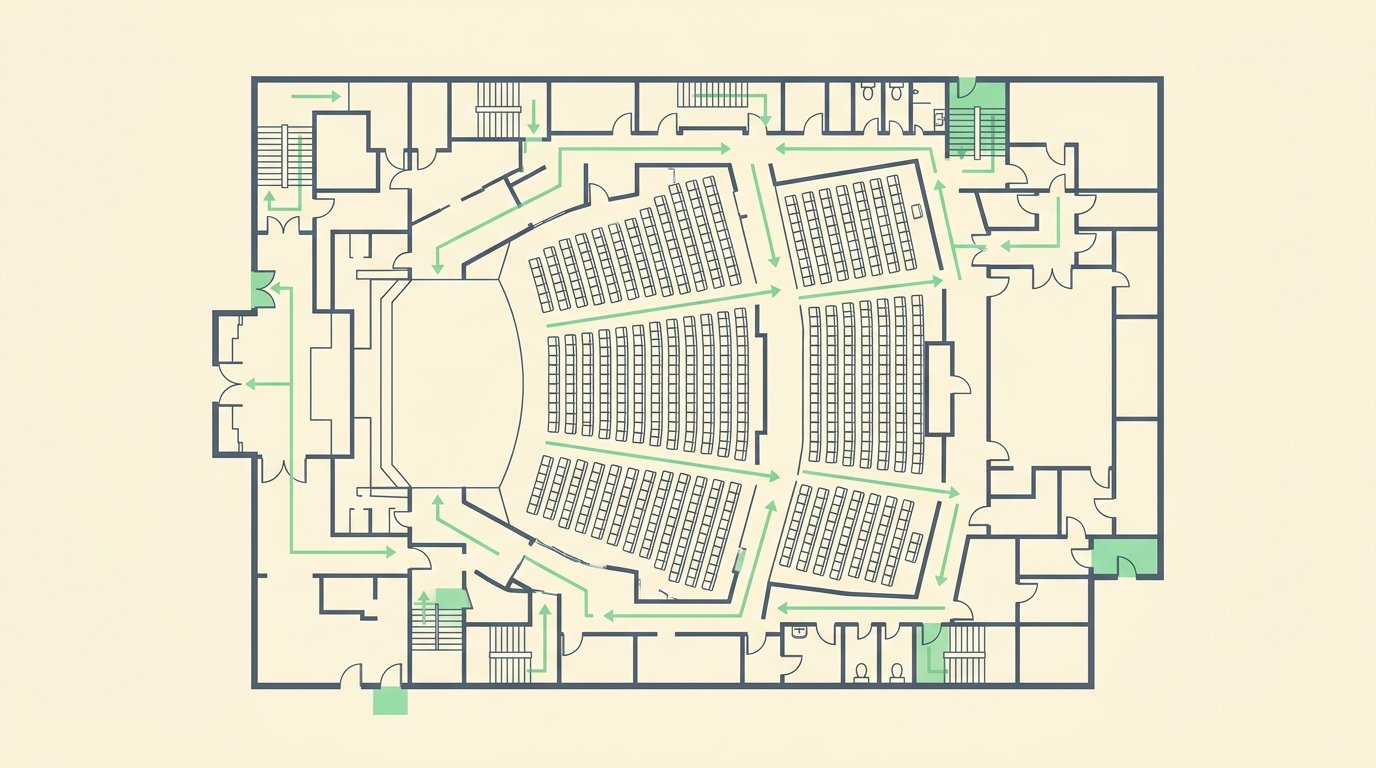
Create a scaled layout diagram showing all functional zones inside your venue. Map out registration desks, stage setups, seating rows, catering tables, sponsor booths, emergency exit paths, and power drop locations.
Ensure your main entry gate includes barricade channels starting twenty feet before scanning tables to prevent sidewalk bottlenecks. Position high-traffic elements like bar stations away from main entry doors.
A finalized floor plan displays clear dimensions, approved emergency exit routes, and designated space allocations for every vendor.
Step 8: Finalize the Event Run Sheet
A run sheet is a minute-by-minute timeline covering the entire event operating day. It details every action from early morning load-in to final evening cleanup.
List specific responsibilities for every staff member and vendor on the run sheet. Specify exact times for stage lighting cues, speaker introductions, meal service, break periods, and door openings.
A completed run sheet provides a clear chronological schedule distributed to all staff, stage managers, and vendors one month before event day.
Phase 4: 1 Week Out (Final Briefings and Dry Runs)
The final seven days before your event require confirming headcounts, printing badges, and conducting staff rehearsals.
Step 9: Confirm Final Vendor Details and Headcounts
Contact every contracted vendor five days before your event to confirm arrival times, loading dock access, and staff counts. Provide your caterer with your final guaranteed attendee headcount.
Re-verify audio-visual equipment lists, two-way radio channels, and scanning hardware battery levels. Send your updated run sheet and floor plan map to all supplier leads.
Final confirmation yields documented arrival schedules, confirmed meal counts, and verified vendor point-of-contact phone numbers.
Step 10: Conduct Staff Briefings and Equipment Checks
Hold a mandatory briefing for all security personnel, gate staff, and key volunteers. Walk your team through emergency protocols, lost child procedures, ticket dispute steps, and radio channel assignments.
Run test scans across all handheld ticket scanners using valid and invalid barcodes. Check that your local offline scanning router syncs databases without relying on public venue Wi-Fi.
A successful briefing ends with trained staff holding pre-tested equipment, confirmed radio frequencies, and clear role assignments.

Phase 5: Day of Event Execution (Gate Operations and Live Management)
On event day, your primary job shifts from planning to monitoring live operations and keeping your schedule on time.
Step 11: Execute Early Morning Setup and Tech Checks
Arrive on-site at least three hours before doors open. Inspect vendor load-in, verify stage lighting and sound levels, and position directional signage at all entry points.
Check your registration desks and scanning gates. Ensure stanchions form clear single-file lanes, scanner batteries are fully charged, and your separate Resolution Desk is open to handle invalid tickets.
Morning setup ends with a complete walk-through confirmation, working PA systems, and staff positioned at all gates thirty minutes before opening.
Step 12: Monitor Gate Throughput and Live Run Sheet
As doors open, monitor attendee entry speed. Ensure scanner operators maintain a fast scan rate and that unreadable tickets move immediately to your Resolution Desk.
Stay in constant radio contact with your stage manager, security lead, and catering captain. Keep your program running on schedule by giving speakers five-minute warnings before their time ends.
Active live management maintains smooth entry gate throughput, keeps stage schedules on time, and resolves operational issues instantly.
Phase 6: Post-Event Wrap-Up (Reconciliation and Review)
Your event is not finished when the last attendee leaves. Follow these post-event steps to wrap up operations professionally.
Step 13: Oversee Venue Load-Out and Equipment Return
Supervise vendor tear-down and equipment load-out immediately following your event closing. Inspect the venue alongside your facility manager to document space conditions and verify no damage occurred.
Collect all rented two-way radios, mobile ticket scanners, stanchions, and unused supplies. Package rented gear into storage cases for return delivery.
Completed load-out results in a signed venue departure clearance form and organized rental equipment ready for transit.
Step 14: Finalize Financial Reconciliation and Debrief
Pay outstanding vendor invoices within five business days. Reconcile your final ticket sales, merchant fees, catering costs, and staffing expenses against your initial budget.
According to industry data from Eventbrite’s event operational survey, organizers who send attendee feedback surveys within 48 hours receive 60% higher response rates than those who wait a week. Send a thank-you email with a feedback survey to all attendees.
Hold a team debrief meeting to review survey feedback, financial results, and operational lessons for your next event.

Master Event Planning Timeline Checklist
Use this high-level operational checklist table to track your progress across all six planning phases.
| Planning Phase | Key Milestone | Target Completion Window | Responsible Party | Verification Status |
|---|---|---|---|---|
| Phase 1: Strategy | Define event goals, budget, and secure venue contract | 12 to 6 Months Out | Event Director | Confirmed Signed Contract |
| Phase 2: Logistics | Contract vendors, launch digital tickets, start marketing | 6 to 3 Months Out | Operations Lead | Active Ticket Sales |
| Phase 3: Setup | Draft scaled floor plan and minute-by-minute run sheet | 3 to 1 Month Out | Logistics Manager | Approved Run Sheet |
| Phase 4: Prep | Confirm caterer headcounts and run staff scan rehearsals | 1 Week Out | Gate Supervisor | Tested Hardware Scanners |
| Phase 5: Execution | Manage gate entry throughput and keep stage on schedule | Day of Event | All Staff Leads | Smooth Gate Operations |
| Phase 6: Wrap-Up | Supervise load-out, pay invoices, and send attendee surveys | 1 to 5 Days Post-Event | Finance & Ops Leads | Final Financial Report |
Common Pitfalls to Avoid
Avoid these frequent operational errors to keep your event planning timeline smooth and stress-free.
| Pitfall | Operational Risk | Corrective Action |
|---|---|---|
| Skipping venue site visits | Unexpected power or dock size issues on event day | Visit prospective venues in person with a technical checklist |
| No budget contingency reserve | Unplanned guard or equipment fees create net losses | Include a strict 15% contingency buffer in your baseline budget |
| Delayed vendor bookings | Popular caterers and AV teams book out months ahead | Lock in primary vendor contracts at least 5 months before doors open |
| Weak gate check-in planning | Long entry lines ruin first impressions for attendees | Deploy dedicated laser scanners and separate ticket dispute desks |
| Delaying post-event feedback | Response rates drop significantly after a few days | Send attendee surveys within 48 hours of event closing |
Frequently Asked Questions
How far in advance should I start planning a large event?
For large conferences, festivals, or multi-day conventions, start your planning 9 to 12 months in advance to secure prime venues and key vendors. Smaller regional workshops or corporate seminars can typically be organized within 3 to 5 months.
What is the most important document in event planning?
The two most critical documents are your Master Budget and your Minute-by-Minute Run Sheet. The budget ensures financial stability, while the run sheet coordinates staff, vendors, and stage schedules on event day.
How do I keep my event budget from going over budget?
Set a strict break-even floor price, include a 15% contingency buffer in your expense estimates, and track all purchase orders in a shared spreadsheet in real time. Avoid making verbal agreements with vendors without signed written quotes.
What should be included in an event day emergency kit?
An emergency kit should include printed run sheets, spare radio batteries, tape, scissors, zip ties, first aid supplies, multi-tool pliers, backup phone chargers, marker pens, and emergency contact lists for all staff and local services.
Summary
A successful event relies on a structured, chronological event planning checklist. Start early by setting clear financial goals, securing your venue, launching online ticket sales, and organizing vendor contracts.
Draft a minute-by-minute run sheet, test your ticket scanning equipment during pre-event briefings, and manage gate throughput actively on event day. Following a systematic planning timeline guarantees your event runs smoothly, stays on budget, and delivers a great attendee experience.