You have a date, a venue idea, and a rough headcount. What you don’t have is a clear picture of the 40 decisions you’ll need to make before anyone walks through that door.
Successful event planning isn’t about talent or luck. It’s about knowing which decisions to make in which order, what to do when something breaks, and how to measure whether your event actually did what it was supposed to do. Most planning guides hand you a checklist. This one tells you what the checklist is actually for, what happens when you skip a step, and what correct execution looks like at every stage.
This guide covers every phase of planning a successful event: strategy and budgeting, logistics and vendor management, day-of operations, and post-event analysis. It applies to corporate meetings, school galas, festivals, fundraisers, conferences, and community events. If tickets are involved, people are showing up, or money is changing hands, this guide is built for you.
Overview
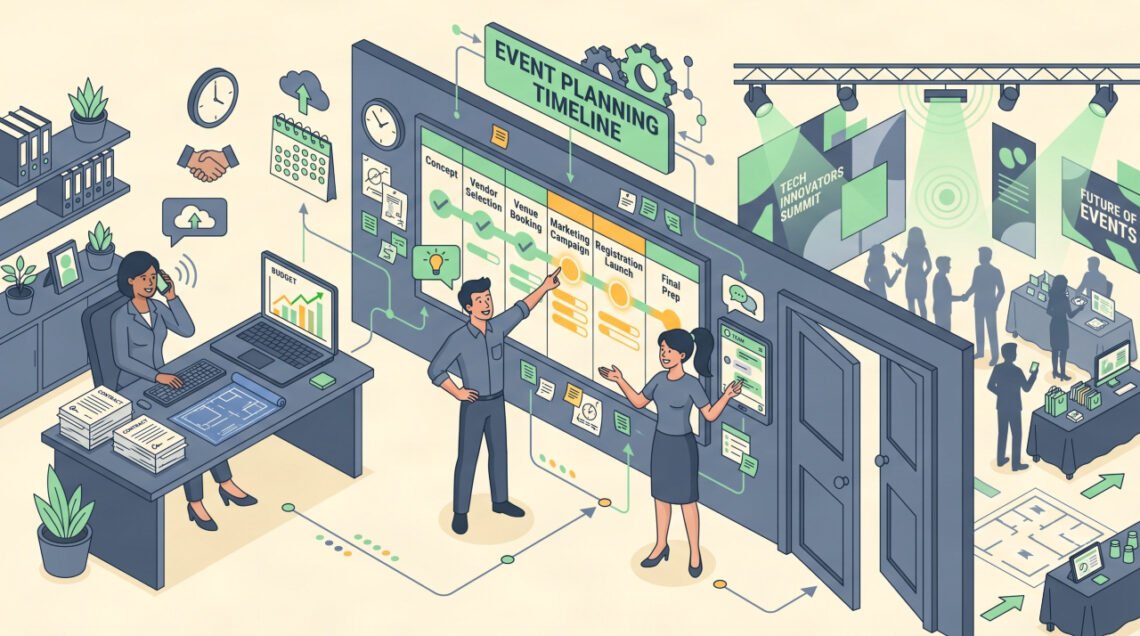
Successful event planning follows a four-phase structure. Each phase has a clear deliverable. Missing the deliverable, and the next phase costs more time, money, and stress to complete.
| Phase | Timeline | Deliverable |
|---|---|---|
| Strategy & Foundation | 6–12 weeks out | Signed venue, locked budget, confirmed team |
| Logistics & Vendors | 3–8 weeks out | All contracts signed, marketing live |
| Final Execution | 1–2 weeks out | Production schedule, staff briefed, all vendors confirmed |
| Post-Event | 0–2 weeks after | Debrief complete, financials closed, follow-ups sent |
For large-scale events (500+ attendees, multi-day, or ticketed), extend each phase by 4–8 weeks. For smaller internal events, these timelines compress but the phases don’t disappear.
Staff requirements by event scale:
- Under 100 attendees: 1 lead coordinator, 2–4 day-of volunteers
- 100–500 attendees: 1 lead, 1 logistics manager, 4–8 staff
- 500+ attendees: Full event team with department leads (marketing, logistics, tech, guest experience)
Materials and Tech You’ll Need
Before you touch the planning calendar, confirm you have these in place:
Planning infrastructure:
- Project management tool (Asana, Trello, or a shared spreadsheet at minimum)
- Shared document workspace for vendor contracts, run-of-show, and contact lists
- Communication channel for your planning team (Slack, WhatsApp, or email threads with clear subject lines)
Event operations tech:
- Registration or ticketing platform (required for any paid or capacity-limited event)
- QR code check-in capability (reduces gate time by 60–80% vs manual lists)
- Payment processing that is PCI-DSS compliant for any monetary transactions
- Backup offline check-in list (exported from your registration platform the night before)
Day-of physical materials:
- Printed run-of-show with minute-by-minute timeline
- Printed emergency contact sheet for all vendors and key staff
- Signage (directional, accessibility, registration desk)
- Wristbands or badge system if event has tiered access
Budget tracking:
- A live budget sheet updated in real time as invoices come in (not at the end)
1: Define Your Event Goal Before Anything Else
Why this step matters: Every downstream decision (venue size, ticket price, marketing message, catering spend) must flow from a single, measurable event goal. Planning without a defined goal produces events that are logistically fine and strategically pointless.
How to do it: Write one sentence in this format: “This event will [achieve outcome] for [audience] by [date], measured by [metric].”
Examples:
- “This fundraiser will raise $15,000 from 200 community donors by November 15th, measured by total revenue and donor count.”
- “This school athletics showcase will increase parent engagement, measured by ticket sales and post-event survey completion.”
Most common mistake: Vague goals like “have a great event” or “raise awareness.” Neither can be measured, so neither tells you whether the event succeeded. If you can’t measure it, it didn’t matter.
What correct setup looks like: Your goal sentence is written, shared with your entire planning team, and used as the filter for every major budget decision.
2: Build Your Budget with a Contingency Buffer
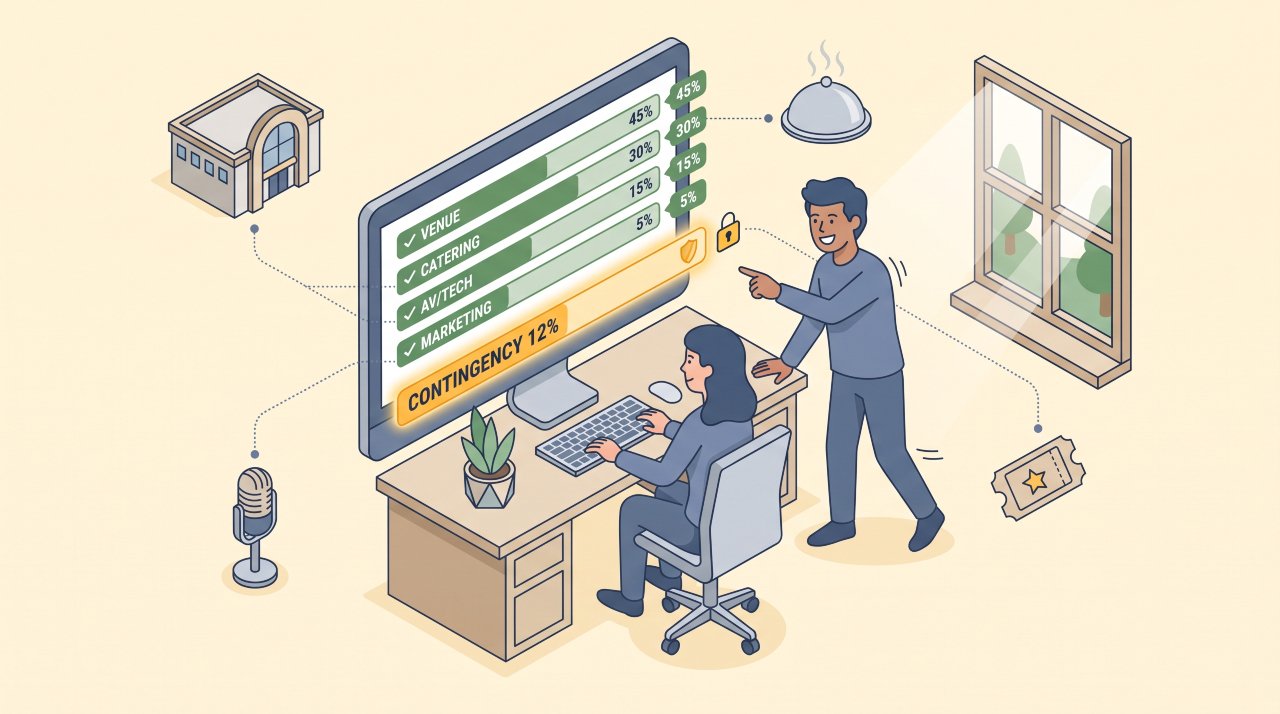
Why this step matters: Budget overruns are the most common reason successful event planning fails. The problem is almost never a single surprise. It’s six small surprises that collectively blow the budget.
How to do it: Build your budget in three columns: estimated, actual, and variance. Categories:
| Budget Category | Typical % of Total Budget |
|---|---|
| Venue | 25–35% |
| Catering & F&B | 20–30% |
| AV & Tech | 10–15% |
| Marketing & Promotion | 8–12% |
| Staffing & Talent | 10–15% |
| Contingency buffer | 10–15% |
| Miscellaneous (printing, signage, transport) | 5–10% |
Most common mistake: Treating the contingency buffer as the last line to cut when the budget gets tight. It should be untouchable until day-of surprises demand it. If you spend your contingency in planning, you have no protection when the AV company charges for an extra tech hour or catering increases head count.
What correct setup looks like: Your budget spreadsheet is live, shared with all approvers, and updated within 24 hours of any signed vendor invoice.
3: Choose and Book Your Venue
Why this step matters: Your venue dictates capacity, accessibility, AV limitations, catering options, and attendee experience before a single other decision gets made. Booking too late is one of the most expensive mistakes in event planning — premium venues at good prices fill months in advance.
How to do it: Evaluate venues against this checklist before signing anything:
- Capacity at your planned layout (theater vs. banquet vs. standing room all produce different max headcounts)
- AV infrastructure (in-house vs. bring your own, load-in restrictions, rigging points if applicable)
- Accessibility (ADA compliance, parking, public transit access)
- Catering policy (exclusive caterer, preferred list, or open to outside vendors)
- Cancellation and force majeure clauses in the contract
- Wi-Fi bandwidth for registration check-in (test it — don’t take their word for it)
Most common mistake: Signing a venue contract without reading the cancellation clause. A 60-day cancellation policy with a full fee penalty has killed many otherwise-recoverable planning disasters.
What correct setup looks like: Your venue contract is signed, all restrictions are documented, and your planning team knows the load-in time, setup window, and hard out time before any other logistics are scheduled.
4: Assemble Your Team and Assign Ownership
Why this step matters: Successful event planning requires that every task has exactly one owner, not a “team” owner. Shared ownership produces dropped tasks, duplicated work, and day-of confusion.
How to do it: Create a simple responsibility matrix:
| Function | Owner | Backup |
|---|---|---|
| Venue liaison | Name | Name |
| Vendor coordination | Name | Name |
| Registration & ticketing | Name | Name |
| Marketing & communications | Name | Name |
| Day-of operations lead | Name | Name |
| Budget tracking | Name | Name |
| Speaker/entertainment liaison | Name | Name |
Most common mistake: Assigning the same person as both the day-of operations lead and the speaker/entertainment liaison. On event day, those two roles will conflict at the exact moment you can least afford it.
What correct setup looks like: Every row of your responsibility matrix has a different primary owner. Every team member has a printed copy of the full contact list for all vendors and team leads.
5: Secure Vendors and Sign Contracts Early
Why this step matters: The best AV companies, photographers, caterers, and entertainment acts book fast. Securing vendors late often means paying more for lower quality, or accepting whoever is available.
How to do it: Prioritize vendors in this order based on how fast they sell out:
- Venue (already done in Step 3)
- Catering (especially for large events where kitchen scheduling matters)
- AV and production (rigging, sound, and lighting crews book weeks to months out)
- Photography and videography
- Entertainment, speakers, or emcees
- Transportation if required
- Printing, decor, and signage (can often be sourced closer to the event)
For each vendor, collect three things before signing: a detailed scope of work, a clear cancellation clause, and a payment schedule. Never pay 100% upfront to any vendor.
Most common mistake: Verbal agreements with vendors. A vendor who says “don’t worry, we’re good” without a signed contract can cancel or reprice with no consequence. Get everything in writing.
What correct setup looks like: All primary vendors have signed contracts on file, payment schedules are logged in your budget tracker, and all vendor contact information is on your master contact sheet.
6: Build Your Registration and Ticketing Setup
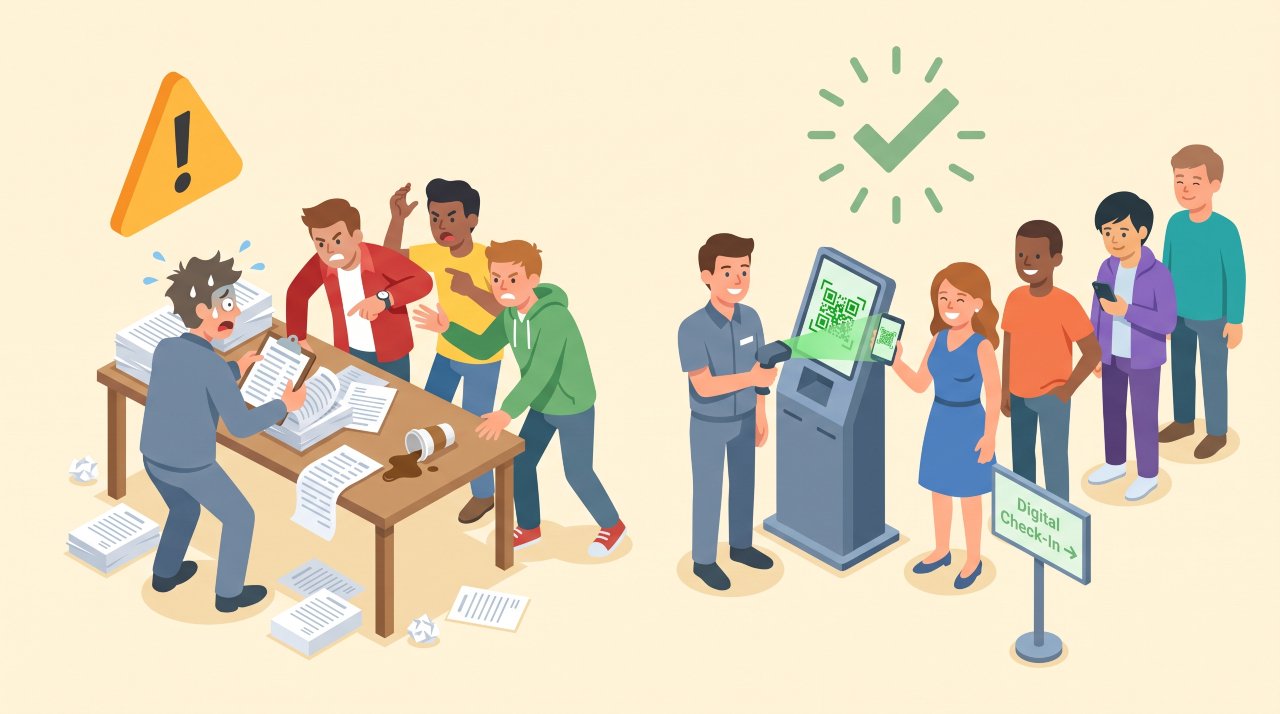
Why this step matters: Your registration system is the first attendee touchpoint. A clunky registration experience tells attendees your event is disorganized before they arrive. It also determines how fast your gate moves and how accurately you can track attendance and revenue.
How to do it: Your ticketing and registration setup needs these four components:
- Online purchase page with event details, ticket tiers, and clear pricing (including any fees)
- Confirmation email with QR code, event location, parking instructions, and schedule
- Real-time dashboard so your team can monitor ticket sales and attendance capacity
- Gate scanning capability that works on mobile devices and handles QR codes in poor lighting
For any event with paid tickets, your platform must be PCI-DSS compliant for cardholder data protection. This is non-negotiable for legal and reputational reasons.
Most common mistake: Testing your check-in scanner the morning of the event. Test it at the venue, in the actual lighting conditions, at least three days before.
What correct setup looks like: Registration is live, your team has done a full end-to-end test (purchase, confirmation email, QR scan, check-in), and you have a printed backup list in case of technical failure.
7: Launch Your Event Marketing
Why this step matters: The best-planned event fails if not enough people show up. Marketing is not decoration. It directly determines whether your attendance goal is hit.
How to do it: Your marketing timeline works backward from event date:
- 6+ weeks out: Announce the event, open registration, publish the core event page
- 4 weeks out: Targeted outreach to your core audience (email, direct invitations, social posts)
- 2 weeks out: Urgency push (limited spots, speaker highlights, agenda previews)
- 1 week out: Last-chance reminder to everyone who opened your emails but didn’t register
- Day before: Logistics reminder to registered attendees (location, parking, what to bring)
Most common mistake: Spending your entire marketing budget on the announcement and having nothing left for the urgency and reminder phases. The final two weeks drive a disproportionate share of registrations for most events.
What a correct setup looks like: Your marketing calendar is built backward from event day. Every send has a confirmed owner, a subject line, and a segment list before the campaign launches.
8: Build Your Day-of Production Schedule
Why this step matters: The production schedule (also called a run-of-show) is the single document that keeps your entire event on track. Without it, every team member is operating on a different version of reality.
How to do it: Your production schedule is a minute-by-minute document covering:
- Vendor load-in and setup times
- Staff arrival and briefing
- Doors open / registration starts
- Program agenda with exact start and end times for every segment
- Catering service windows
- AV and tech cue points
- Doors close / event end
- Vendor load-out and venue clear time
Distribute this document to every vendor and team member 72 hours before the event. Treat it as final. Any changes after that point go only to affected parties, not the whole group.
Most common mistake: A production schedule with 30-minute blocks rather than minute-by-minute timing. Vague schedules create vague execution. If your program segment says “keynote: 7pm-8pm,” what happens at 7:43 when it’s done early?
What a correct setup looks like: Your production schedule has a named owner for every time block, a cue note for AV and tech, and a contingency note for the three most likely delays (speaker running over, registration backup, AV issue).
9: Execute Day-of Operations
Why this step matters: All of the planning phases exist to make this day as close to automatic as possible. If your team is making decisions on the fly, the planning failed somewhere upstream.
How to do it: Your day-of operational structure:
- The lead coordinator holds the production schedule and is the single point of contact for all vendor issues
- The gate team is briefed on scanner operation, the backup paper list, and the procedure for access disputes
- Communications hub (typically a group chat) is live and active from load-in until load-out
- The first 30 minutes after doors open is the highest-risk window for registration issues — have extra staff at the gate during this period
- Designated troubleshooter with authority to make real-time budget decisions up to a defined threshold (e.g., $200 without escalation)
Most common mistake: The lead coordinator spends the first hour putting out operational fires instead of managing the overall program. Brief your troubleshooter to absorb the fires so the lead can hold the schedule.
What a correct setup looks like: Your team operates from the production schedule without needing to call the lead coordinator for routine decisions. Issues that require escalation get to the lead in under 60 seconds.
10: Close Out and Run Your Post-Event Debrief
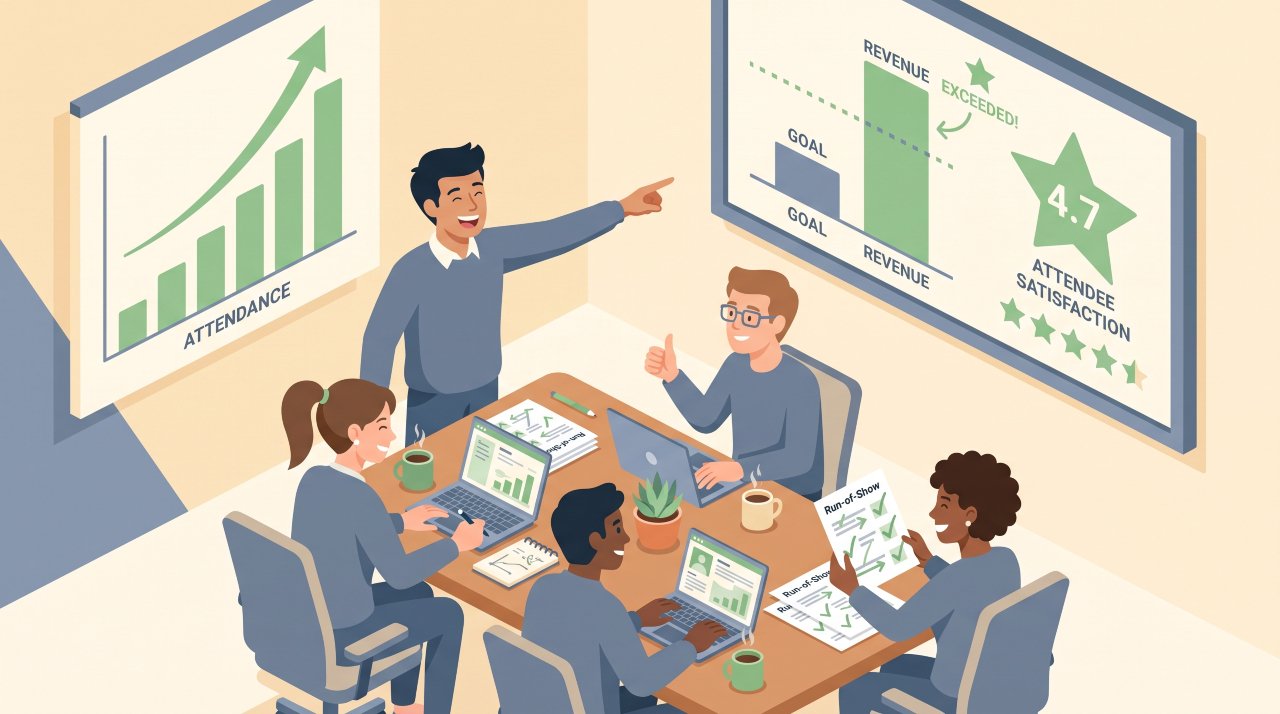
Why this step matters: Post-event analysis is how successful event planning compounds over time. Every event teaches you something that the next one can use. Skip the debrief, and you repeat the same mistakes on a bigger budget.
How to do it: Within 72 hours of your event, complete four things:
- Team debrief (60 minutes, structured): What went well, what went wrong, what we’d change
- Attendee feedback (survey, 5 questions max): Overall experience, specific pain points, likelihood to attend again
- Financial close-out: Actual spend vs. budget, outstanding invoices, revenue vs. goal
- Vendor performance notes: Which vendors delivered, which fell short, and which you’d book again
Most common mistake: Skipping the debrief because everyone is tired. The first 72 hours produce the most accurate team memory. Wait two weeks and you lose the specifics.
What a correct setup looks like: A short debrief report is written, shared with all key stakeholders, and filed alongside the event’s contract and financial records for future reference.
Expected Impact: Before and After
| Area | Without Structured Planning | With This Framework |
|---|---|---|
| Budget overruns | Common (15–30% over budget typical) | Rare when contingency is protected and live budget is tracked |
| Vendor conflicts | Frequent — verbal agreements create disputes | Near-zero with signed contracts and scope documents |
| Gate wait times | 10–20 mins for large events with manual check-in | Under 3 minutes per attendee with QR scanning |
| Staff confusion day-of | High — team members calling each other for basic decisions | Low — production schedule eliminates routine escalations |
| Post-event revenue clarity | Takes days to reconcile | Real-time with digital ticketing and live budget tracking |
| Repeat attendance | Lower without follow-up | Higher with structured post-event communication |
Cost-Benefit Breakdown
| Tool / Resource | Specs | Estimated Cost | Operational Value |
|---|---|---|---|
| Event management platform | Registration, check-in, reporting | 0–200/event or % of ticket revenue | Eliminates manual tracking, real-time data |
| QR scanner hardware | Smartphone or dedicated scanner | 0–150 | Reduces gate time by 60–80% |
| Project management tool | Asana, Trello, or Google Sheets | 0–25/month | Keeps team aligned without constant meetings |
| Printed production schedule | A4 laminated, one per team lead | 2–5 | Single most valuable day-of document |
| 10–15% contingency budget | Applied to total event budget | Built-in cost | Absorbs real-world surprises without derailing the event |
| Post-event survey tool | Typeform, Google Forms | 0–35/month | Attendee intelligence that improves every future event |
Common Pitfalls to Avoid
Locking the venue before the budget. Falling in love with a venue before knowing what it costs leaves you squeezing every other line item to make it work.
No backup for tech failures. A QR scanner that won’t connect at the gate is a crisis if you have no printed backup list. It’s a 90-second inconvenience if you do.
Over-communicating to your full team. Not every team member needs every update. Targeted communication by role keeps people focused. Group chats with 20 people produce noise, not coordination.
Failing to confirm vendors 48 hours out. Call every primary vendor two days before the event. Confirm arrival time, contact name, and any last-minute changes. This single step catches 80% of day-of vendor surprises before they happen.
Treating your run-of-show as a suggestion. The production schedule only works if your team treats it as an operational document, not a rough guide. Build buffer into the schedule itself, not into your attitude toward it.
Frequently Asked Questions
How far in advance should I start planning an event?
For events under 100 attendees, 6–8 weeks is a workable minimum. For events of 100–500 people, plan for 3–6 months & for large conferences, festivals, or ticketed public events over 500 attendees, 6–12 months is the standard minimum. The biggest risk of starting late isn’t the planning itself — it’s losing the venue and vendors you actually wanted to the organizers who started earlier.
What is the most important element of successful event planning?
Budget discipline is the most commonly cited factor by professional event coordinators. A realistic budget with a protected contingency buffer, tracked in real time, prevents the majority of event planning failures. A well-planned event with a blown budget causes stress, vendor disputes, and reputational damage that a well-run event with a tight budget never does.
How do I handle low ticket sales before my event?
First, check your marketing timeline — most late registrations come from urgency messaging in the final 10–14 days. If sales are genuinely low at the 3-week mark, run a targeted outreach to your email list with a specific reason to act now (limited spots, early-bird ending, added speaker). Discounting broadly too early signals low demand and can undermine your pricing for future events.
What should a day-of event checklist include?
Your day-of checklist should cover: vendor arrival confirmations, staff briefing completion, check-in system test (scanner, backup list), signage placement, AV and mic check, catering delivery confirmation, and first-aid or emergency contact visibility. Run this checklist 90 minutes before doors open, not 10 minutes before.
How do I measure whether an event was successful?
Measure against the goal you set in Step 1. Common metrics include: attendance vs. target, ticket revenue vs. goal, attendee satisfaction score (from post-event survey), net promoter score (likelihood to attend again), and ROI for sponsored or revenue-driven events. An event that felt great but didn’t hit its goal is useful data, not a success.
Do I need event insurance?
For most public events, especially ticketed ones, event liability insurance is strongly recommended. It protects against property damage, attendee injuries, and vendor non-performance. Many venues require it as a condition of booking. Policy costs typically range from 75 to 500 depending on event size and coverage level.
Conclusion
Successful event planning is a system, not a talent. Every phase — strategy, logistics, execution, and debrief — feeds the next one. Skip a phase or rush through it, and you pay for it in the one that follows.
The coordinators who run events that look effortless aren’t winging it. They have a signed venue, a locked budget with contingency, a production schedule every team member has read, and a post-event debrief already scheduled before doors open.
Use this guide as your baseline framework. Bookmark it, share it with your team, and come back to it at each planning phase. As your event grows in scale, your planning system needs to grow with it.