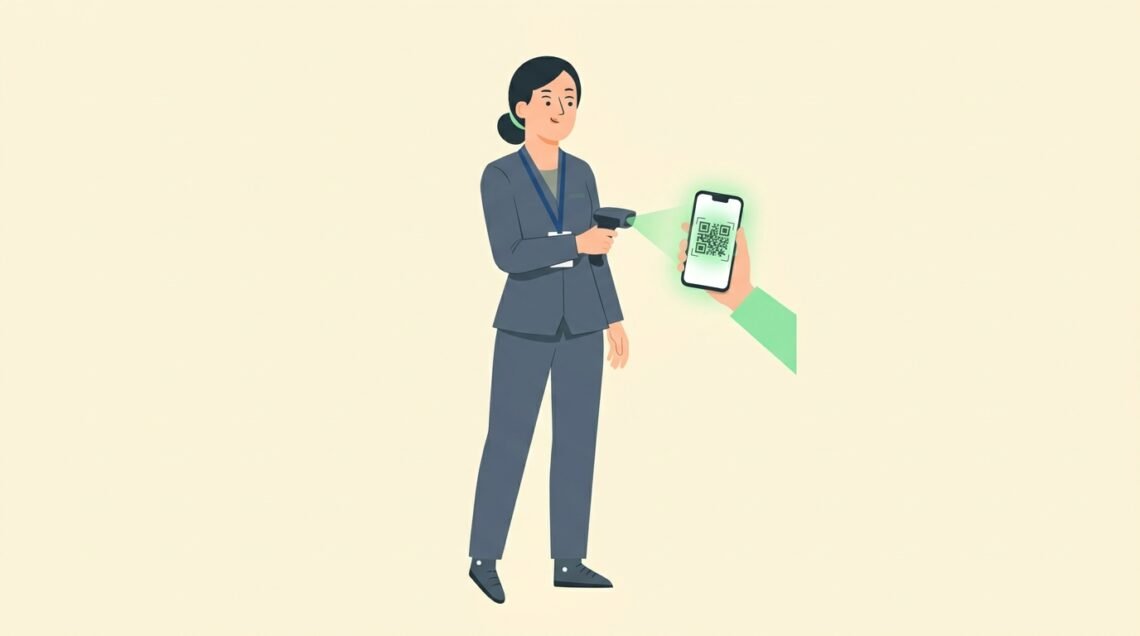
Managing on-site credential printing for a multi-day conference, corporate summit, or trade show requires fast hardware synchronization and reliable printing software.
Pre-printing thousands of name badges creates chaotic registration tables, wasted paper stock, and long lines when attendees misplace pre-printed passes. Setting up an on-demand event badge printing setup allows check-in staff to print custom thermal badges in under six seconds per attendee as they arrive.
This setup guide analyzes on-demand badge printing logistics step by step. You will learn how to select thermal badge printers, configure QR code registration software, choose badge stock materials, and structure fast-track check-in lanes.
Quick Answer: Event Badge Printing Setup
To build a fast event badge printing setup, deploy direct thermal badge printers (such as Zebra ZD620 or Epson CW-C4000) connected via direct AirPrint or local ethernet routers to mobile registration tablets. Use pre-formatted 4×6 inch double-sided peel-and-stick badge stock requiring zero plastic holders to achieve printing speeds under 6 seconds per badge. Synchronize check-in software with a central box office database to trigger automatic badge printing the moment an attendee QR code is scanned at entrance stations.
Key Takeaways
- Adopt On-Demand Thermal Printing: Eliminate pre-printed badge sorting chaos by printing credentials instantly upon attendee QR scan.
- Deploy Direct Local Router Networks: Connect printers and registration tablets to a dedicated local Wi-Fi router to prevent printing delays during venue internet drops.
- Use Eco-Friendly Direct Thermal Stock: Choose double-sided peel-and-fold badge stock that clips directly to lanyards without requiring plastic pouches.
- Establish Dedicated Help Desk Desks: Separate name correction and walk-up registration desks 20 feet away from main printing terminals to preserve line throughput.
Equipment Required for On-Demand Badge Printing
Preparing proper hardware before event doors open ensures fast badge printing.
Gather the following equipment assets 48 hours before check-in opens:
- Direct Thermal Printers: High-speed direct thermal or ink-jet badge printers supporting 300 DPI resolution and auto-cutter mechanisms.
- Mobile Registration Tablets: Touchscreen tablets or smartphones loaded with validated check-in software supporting wireless printer pairing.
- Peel-and-Fold Badge Stock: Heavyweight double-sided thermal badge paper with pre-punched lanyard slots and clean tear edges.
- Dedicated Local Router: A high-bandwidth router establishing a private local network between check-in tablets and printers.
- Dual-Slot Lanyards: Non-twist lanyards featuring dual bulldog clips to keep printed credentials facing forward during conference sessions.
Step 1: Select the Right Badge Printing Hardware
Choosing hardware designed for event environments prevents paper jams and hardware overheating.
Direct thermal printers utilize heat-sensitive badge paper, eliminating the need for ink cartridges or toner ribbons. Thermal printers generate black-and-white attendee credentials in under four seconds.
When setting up digital registration systems and badge layout templates, review our guide on implementing digital ticketing to ensure server database compatibility across entry terminals.
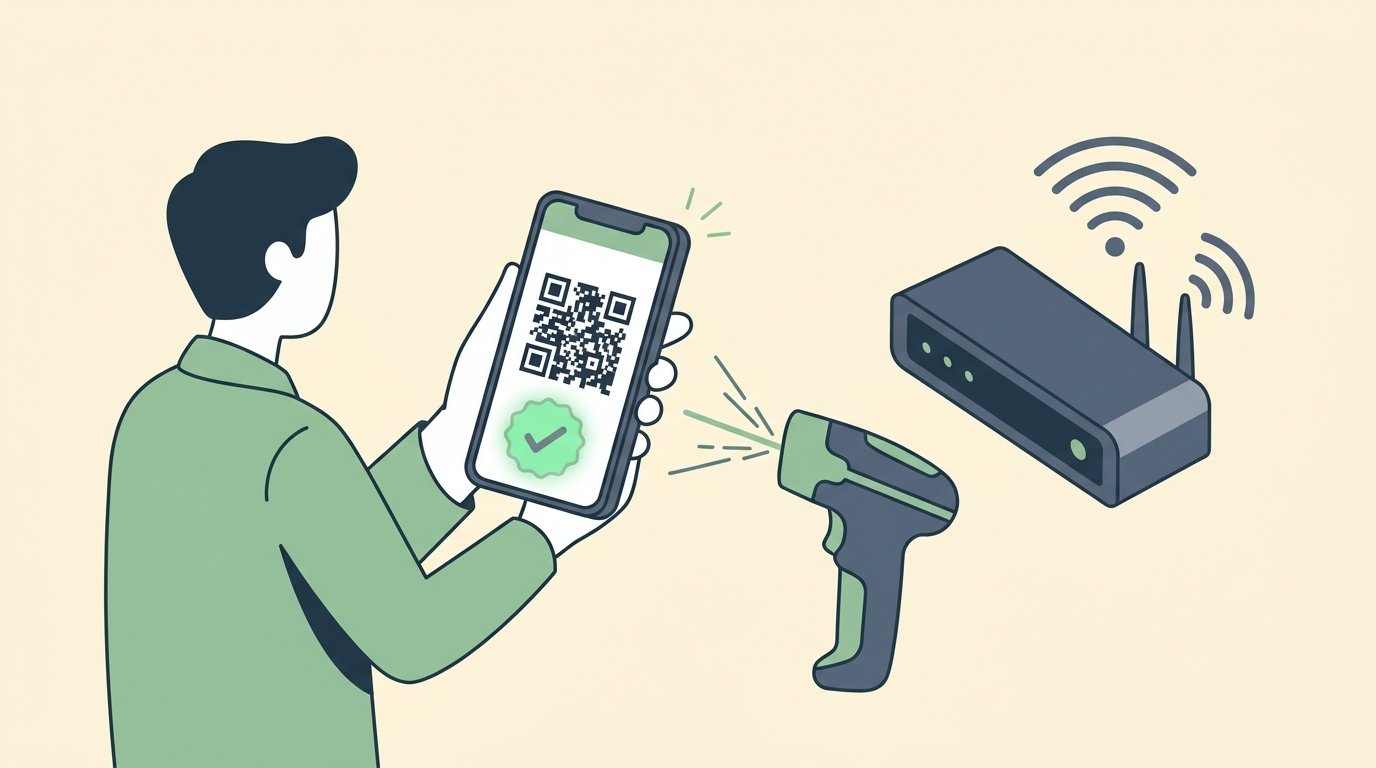
Direct thermal badge printer local network setup
Color inkjet badge printers allow full-color sponsor logo printing on demand, though printing speeds require 6 to 8 seconds per pass.
Step 2: Configure Wireless Printer Network Sync
Relying on public venue Wi-Fi networks causes printer disconnects and print queue lags.
Establish a dedicated local Wi-Fi router network linking all check-in tablets directly to thermal printers. Assign static IP addresses to each printer terminal to prevent communication drops.
To evaluate box office software tools and point-of-sale hardware integration, read our buyer guide on box office management software.
According to operational standards published in PCMA’s event technology guidelines, local network printer pairing maintains sub-five-second printing speeds without depending on external cloud server connections.

Double-sided conference name badge layout template design
Step 3: Design High-Legibility Badge Layouts
Badge design controls both check-in speed and conference networking effectiveness.
Format badge layout templates in your check-in app with clear visual hierarchy:
1. First Name: Display first names in bold 48pt to 60pt font size for easy recognition across room distances.
2. Last Name & Organization: Position last names and company affiliations directly underneath in 24pt to 30pt font size.
3. Category Color Bar: Include a colored stripe along the bottom edge designating Attendee, Speaker, Sponsor, Media, or Exhibitor access levels.
4. Security QR Code: Print a unique attendee QR code on the back side of the badge for exhibitor lead retrieval scanning.
Clear layout formatting speeds up manual verification and improves attendee networking throughout venue halls.
Step 4: Structure Multi-Terminal Check-In Stations
Organize physical registration tables to move foot traffic quickly through venue doors.
Set up self-contained printing pods consisting of one registration tablet paired with one thermal printer. Position one operator per pod to guide attendees through scanning confirmation QR codes sent via email.
For complete door management guidelines and crowd control stanchion setups, read our operational guide on how to manage event check in.
Establishing separate Help Desk stations away from primary printing pods prevents registration line pauses caused by spelling corrections or unpaid registration balances.
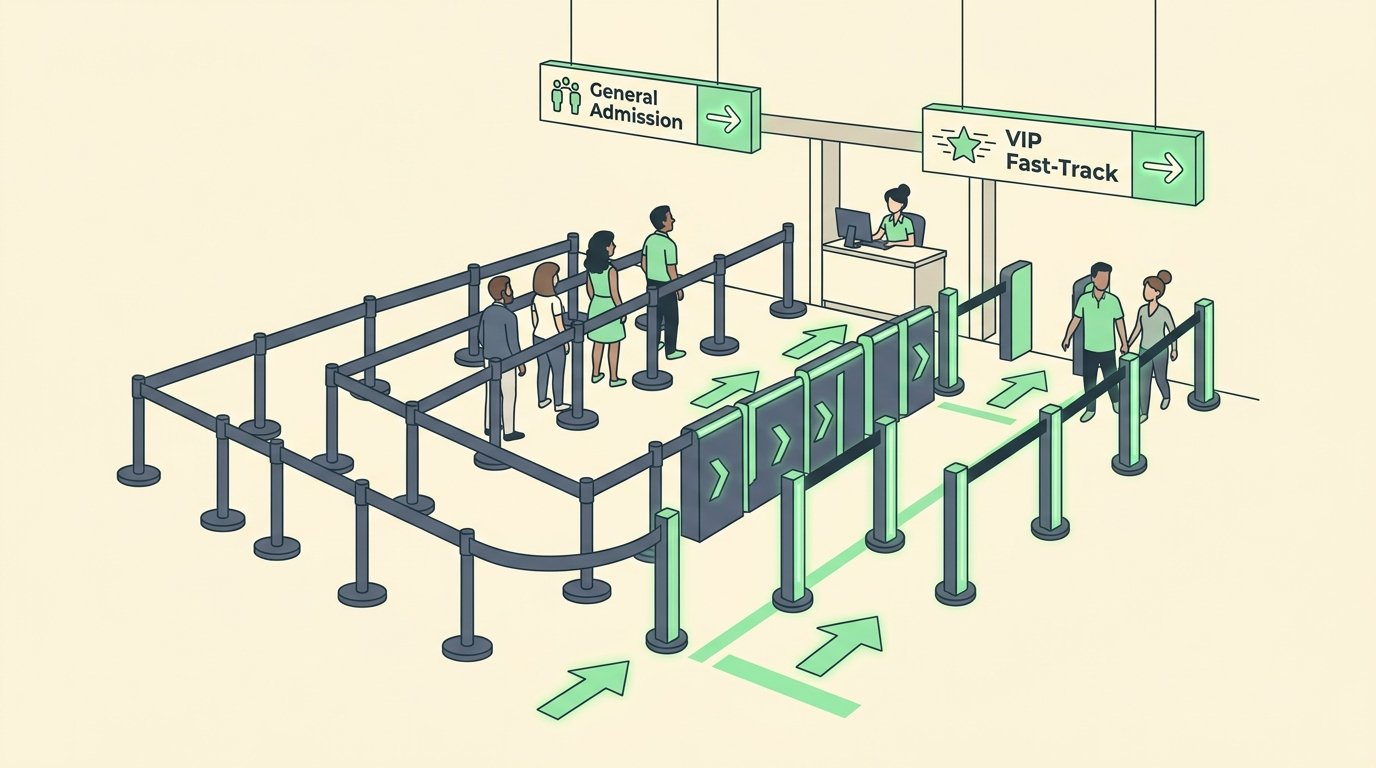
Multi-terminal badge printing check-in pods at conference entrance
Step 5: Test Print Queues and Emergency Protocols
Conduct thorough load testing before opening registration doors to conference guests.
Print test badges across all active printer pods simultaneously 60 minutes before doors open. Verify print clarity, paper alignment, cutter performance, and wireless network response times.
For complete operational planning checklists covering event day setups, consult our master event planning checklist.
According to benchmark research from Eventbrite’s venue operational survey, pre-event hardware testing reduces check-in technical glitches by over 40% during peak arrival windows.
Badge Printing Setup Comparison Matrix
Compare hardware configurations to match your conference registration scale.
Setup TypeAverage Print TimeBadge Stock FormatNetwork ConnectionTarget Attendance
- Pre-Printed Badge Sorting30 to 45 secondsPlastic pouch & paper insertZero network required50 to 200 attendees
- Direct Thermal On-Demand3 to 5 secondsPeel-and-fold thermal stockLocal router Wi-Fi / LAN200 to 5,000 attendees
- Color Inkjet On-Demand6 to 8 secondsHeavy cardstock badgesEthernet / LAN router300 to 2,000 attendees
- Self-Service Kiosk Pods5 to 7 secondsDirect thermal badge paperCloud & local server sync1,000 to 10,000+ attendees
Common Badge Printing Issues and Operational Fixes
Resolving hardware issues quickly keeps entrance queues moving smoothly.
- Printer Misalignment: Badges print crooked or text cuts off along edges. *Fix:* Run automatic paper calibration from the printer control panel before loading new paper rolls.
- Wi-Fi Signal Drops: Printers disconnect from check-in tablets during peak crowd arrivals. *Fix:* Connect tablets and printers using physical USB cables or direct ethernet cords.
- Twisting Lanyards: Badges flip backward during conference sessions, hiding attendee names. *Fix:* Use dual-clip lanyards connected to two outer punch holes on badge stock.
- Clogged Print Heads: Thermal printouts show white lines across text or QR codes. *Fix:* Clean thermal print heads with isopropyl alcohol cleaning swabs between registration sessions.
Frequently Asked Questions
How long does it take to print a badge on-demand?
Direct thermal badge printers produce custom credentials in 3 to 5 seconds. Total attendee check-in time including QR code scanning takes under 10 seconds per person.
Do I need plastic badge holders for on-demand printing?
No. Modern direct thermal badge stock features heavy peel-and-fold paper with pre-punched lanyard slots. The folded badge attaches directly to lanyards without requiring plastic pouches.
How many badge printers do I need for my conference?
Plan for 1 badge printer and tablet check-in pod per 150 expected attendees during your primary 60-minute arrival window. A 600-person conference requires 4 active printing pods.
What happens if a check-in printer runs out of paper stock?
Keep spare paper rolls next to each printing station. Scanner operators reload paper in under 30 seconds while adjacent printing pods handle arriving foot traffic.
Summary
Setting up an efficient event badge printing setup requires selecting fast thermal hardware, configuring local router networks, and testing layouts before doors open.
Choose direct thermal printers, utilize peel-and-fold badge stock, and separate troubleshooting desks from primary check-in pods. By implementing structured on-demand printing, you eliminate pre-printed badge clutter and deliver a fast entry experience for every conference guest.
Written by Franklin Alfano, Digital Operations & Ticketing Specialist at Bilieter.