You set up the event page. You posted on social media. A few friends liked it, and then nothing happened. The ticket counter stayed at zero for three days straight.
Knowing how to get people to buy tickets to your event requires more than a good flyer. Most unsold events have two separate problems: the wrong people see the page, and the right people abandon checkout before paying. This guide covers both.
Work through these eight steps before your next on-sale date. Each one addresses a specific point where potential buyers drop off. You do not need a large marketing budget to make them work.
What You’ll Need
Before you start, gather these resources:
- A live event page with a public URL
- Access to your ticketing platform’s checkout settings
- An email list, even a small one of past attendees or contacts
- Basic analytics access to see page visits and drop-off rates
- A short asset kit: one event photo, one speaker or performer bio, one short event description
- Budget for at least one short run of paid social ads (even 20to50 helps)
1: Fix Your Event Page Before You Promote It
Most organizers promote first and fix later. That order wastes every dollar you spend on promotion. Before sharing a single link, your event page must do one thing: answer “why should I go?” in under ten seconds.
Write your headline around the attendee’s outcome, not your event’s name. Instead of “Franklin City Business Mixer,” write “Meet 80 Local Business Owners in One Room.” The first title says what it is. The second says what you get. That shift alone moves more visitors to the buy button.
Place your ticket price, date, and location above the scroll line on every device. Buyers who must hunt for basic details will leave before they find them. Run your page on a phone before you publish it.
A well-built page shows a clear headline, date, price, and a single call-to-action button without clutter. No broken links load below the fold. The ticket button is visible without scrolling on a 375-pixel screen.
2: Set Up Ticket Tiers With Built-In Urgency
Urgency is not manipulation. It is information. Buyers who see a real deadline move faster than buyers who think they can decide later and circle back. Most of them do not circle back.
Create at least two ticket tiers: an early-bird price and a standard price. Set the early-bird deadline to end at a specific date and time, not when a vague quantity runs out. Display the countdown on the page. When the early-bird closes, the price must actually increase — do not extend the deadline when sales are slow.
For a deeper look at how to structure ticket tiers inside a full ticketing platform, read our full ticketing platform overview. It covers capacity limits, pricing rules, and real-time inventory management.
A correct tier setup shows two distinct price options with a clear deadline date next to the lower price. The checkout page confirms which tier the buyer is purchasing. The expired tier is grayed out automatically after its deadline passes.
Step 3: Remove Friction From the Checkout Flow
This is the step most organizers skip, and it is where most ticket sales die. According to research on PCI-compliant payment standards, buyers abandon checkout at the first sign of a complicated or unfamiliar payment screen. Every extra field you require reduces conversions.
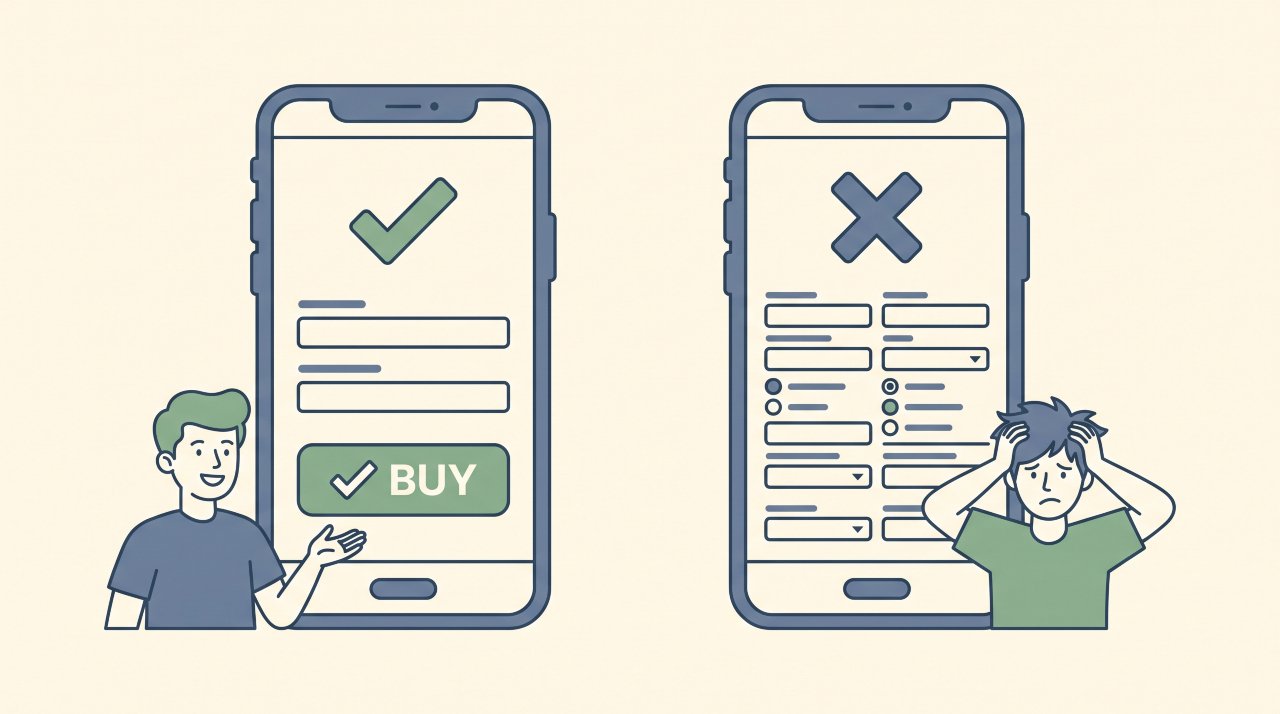
Audit your checkout form right now. Remove any field that is not essential for the ticket purchase or for event entry. First name, last name, and email are almost always enough. Do not ask for a phone number, company name, or dietary preference at checkout — save those for a post-purchase form.
Ensure your platform accepts mobile payments including Apple Pay and Google Pay. Buyers on a phone who must manually type a 16-digit card number often quit before finishing. A one-tap payment option removes that moment of friction entirely.
A clean checkout takes under two minutes to complete on a mobile device. The confirmation email arrives within thirty seconds of purchase. Your admin panel shows the new buyer instantly.
Step 4: Write a Promotional Email Sequence
Email is still the highest-converting channel for event ticket sales. According to Eventbrite’s event marketing data, email drives more ticket purchases than social media for most independent events. Your email list does not need to be large — it needs to be targeted.
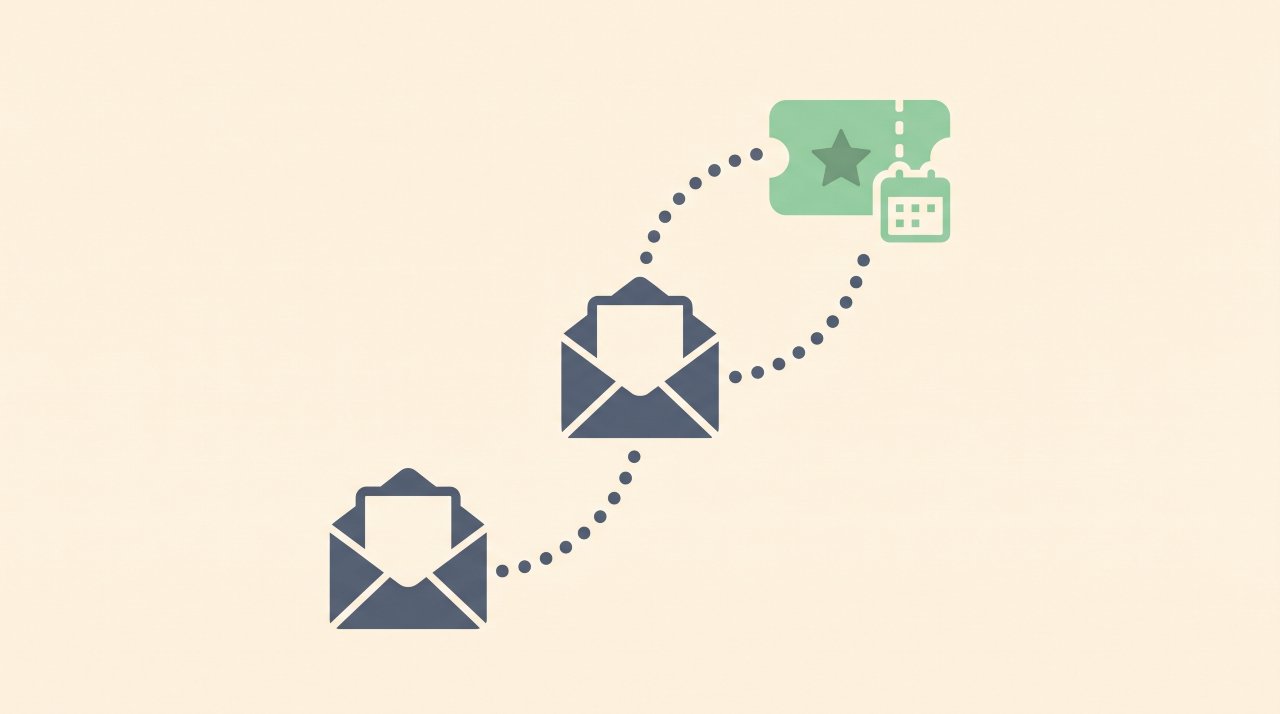
Send three emails for every event: an announcement email on launch day, a reminder email three days before the early-bird deadline, and a final urgency email on the last day of the early-bird period. Keep each email under 200 words. One clear call-to-action link per email, nothing else.
Subject lines that name a specific outcome outperform vague lines consistently. “Join 150 marketing professionals in Austin” outperforms “Tickets now available” because it tells the reader exactly what they are buying. Test two subject lines on your first send.
A working email sequence shows open rates above 20% and a click rate above 3% on a warm list. Your ticketing platform logs each click from email referrals. Sales spike within four hours of each send.
5: Use Social Proof to Remove Buyer Hesitation
People do not buy what they do not trust. A ticket purchase is a commitment of time and money, and first-time attendees need evidence that showing up will be worth it. Social proof provides that evidence.
Collect three types of proof and put them on your event page: a short quote from a past attendee, a photo from a previous event showing real people in an energetic room, and the number of tickets already sold. Phrases like “147 people have already registered” work because they signal that others have made the same decision and found it worthwhile.
If this is your first event, use speaker credentials, venue reputation, or partner organization names as proof instead. A recognized venue name or a co-hosting brand carries more weight than you might expect. List your partners prominently near the ticket button.
Correct proof placement shows at least one piece of social evidence within one scroll of the buy button. The evidence is specific, not generic. A real attendee name or real photo appears somewhere on the page.
6: Target the Right Audience With Paid Ads
Organic reach on social media rarely moves tickets in volume. A small, targeted paid campaign almost always outperforms free posts because it puts your event in front of people who match your buyer profile. You do not need a large budget to start.
Set up a Facebook or Instagram ad targeting people within a geographic radius of your venue. Layer on interest filters that match your event topic — for example, a business networking event might target people who follow local chamber of commerce pages or business publications. Keep your ad copy short: the event name, the date, the main benefit, and a link.
Run the ad for five to seven days before your early-bird deadline. Do not run ads all month at a low budget; concentrate your spend into a shorter window to create density. One strong week of ads beats one quiet month of posts.
A working ad campaign shows a cost-per-click under $1.50 for local events. Your event page visit count rises visibly during the ad run. At least 5% of ad visitors click through to the ticket checkout.
7: Activate Personal Outreach for the First 20 Sales
The first 20 ticket sales are the hardest and the most important. An empty ticket counter signals low demand to every new visitor. Your goal in the first 48 hours is to get that counter moving, and personal outreach is faster than any campaign.
Message ten to fifteen people individually before you announce publicly. These are people you know personally who fit your target audience. Do not send a mass text — write each message as if it is just for them. Explain why you thought of them specifically and send a direct link to the ticket page.
This approach feels slow but produces a high conversion rate. A personal message from the organizer converts at a much higher rate than any ad. Once you have your first 15 to 20 buyers, your social media announcement carries proof of demand behind it.
Successful personal outreach produces at least ten confirmed ticket purchases within the first 72 hours. Your page visit to ticket ratio improves because your early buyers also share the page with their networks. The counter gives new visitors a reason to trust the event.
8: Follow Up With People Who Visited But Did Not Buy
Most visitors to your event page leave without buying. This is normal. What is not normal is ignoring them. Retargeting is the process of reaching back to people who showed interest but did not convert — it is one of the highest-return tactics available to event organizers.
Install a Facebook Pixel or Google Tag on your event page. Create a custom audience of everyone who visited the page in the last 30 days but did not complete a ticket purchase. Run a short retargeting ad specifically for this group with a different message — one that addresses a likely hesitation, such as price, lineup details, or venue access.
You can also do this by email. Add a follow-up sequence that triggers when someone clicks your ticket link in an email but does not complete a purchase. A single follow-up email 24 hours later with FAQs about the event recovers a meaningful percentage of those near-buys.
A working retargeting setup shows your event page custom audience is growing in the ad platform. Your follow-up email has a higher click rate than your original announcement. Ticket sales continue arriving in the days after your main campaign ends.
Common Pitfalls to Avoid
Every organizer makes at least one of these errors. Catching them before launch protects your revenue.
| Pitfall | What Goes Wrong | Fix |
|---|---|---|
| Promoting before fixing the page | Ad spend goes to a page that does not convert | Audit and fix the page before spending on ads |
| Extending the early-bird deadline | Buyers learn the urgency is fake | Let the deadline expire and raise the price as promised |
| Too many checkout form fields | Buyers abandon before completing payment | Keep form fields to three: name, email, payment |
| No social proof on the page | First-time buyers hesitate and leave | Add one real quote, one photo, one registration count |
| Spreading ad spend over too long a period | Weak impressions with no spike | Concentrate ads into a five to seven day window |
Frequently Asked Questions
How early should I start selling tickets to my event?
Start selling as soon as your date, venue, and main lineup are confirmed. For large events, open sales six to twelve weeks in advance. For smaller events, four to six weeks is enough time to build momentum without losing early buyer attention.
Why are people visiting my event page but not buying tickets?
The most common reasons are a complicated checkout process, a missing price, or a lack of social proof. Check that your ticket price is visible without scrolling, your checkout takes under two minutes, and at least one piece of social evidence appears near the buy button.
Do I need a large social media following to sell tickets?
No. A targeted email list of 200 to 300 people relevant to your event topic converts better than a social following of 10,000 unrelated followers. Focus on building a small, relevant list rather than chasing follower counts.
How do I handle people who want a refund after buying?
Set your refund policy clearly on the event page before tickets go on sale. A common approach is full refunds up to 30 days before the event, ticket transfers allowed up to 48 hours before the event, and no refunds inside that final window. Clear policies reduce disputes and build buyer confidence. Learn more about how digital ticketing works for managing transfers and refunds inside your platform.
Can I sell tickets on multiple platforms at once?
Yes, but manage your inventory carefully. If you sell on your own page and on a third-party site simultaneously, use a platform that syncs inventory in real time. Overselling a capacity-limited event damages your reputation and creates a logistical problem on event day.
What is the best price for event tickets?
The best price covers your costs, leaves margin for the venue and promotion, and is low enough that your target audience does not need to deliberate. Research comparable events in your area and price within 15% to 20% of what similar organizers charge. Your early-bird tier can be 20 to 30% below your standard price.
Summary
Getting people to buy tickets starts with a page that converts and a checkout that does not leak buyers. Fix those two things before you spend money on promotion. Then layer in an email sequence, personal outreach for your first 20 sales, and a focused ad run timed to your early-bird deadline.
Bookmark this guide and run through the checklist at the start of every event cycle. Share it with your co-organizers so everyone is working from the same playbook. The difference between a sold-out event and an empty room is usually not budget — it is process.