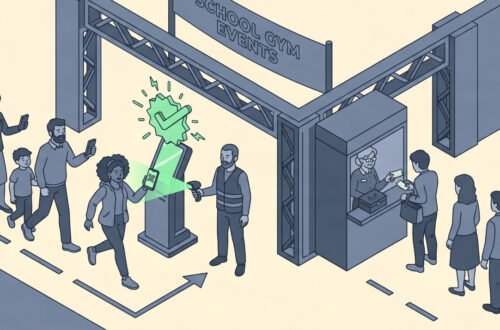

Picture checking in a crowd of five thousand attendees under a sudden storm. Wet paper tickets tear, printed barcodes smudge, and lines grow long. When you manage entry gates, slow ticketing systems create massive operational delays.
Implementing digital ticketing systems for live events resolves these entry bottlenecks by replacing paper with instant mobile verification. By shifting to a digital system, you can control gate access, track ticket sales, and secure payment processing.
This guide outlines how to deploy a digital entry system for your next event. You will learn the exact steps to configure platforms, set up ticket scanning hardware, and train gate staff. The complete process takes about four to six hours to configure from scratch.
Poor prep work can lead to scanning errors and gate blockages. Our focus is on building a setup that remains stable if local mobile networks fail. We will look at backup options and local hardware settings.
What You’ll Need
Before starting your digital ticketing setup, gather the following resources:
- Event ticketing software account (such as the Bilieter portal)
- PCI-compliant payment gateway credentials
- Mobile scanning devices with working autofocus cameras
- Dedicated local Wi-Fi router with dual-band capability
- Portable cellular hotspot for backup network access
- Printed gate staff instruction sheets
- Laptop computer for database management
Step 1: Select Your Software Platform
Selecting the right software determines how easily you can manage sales and entry. Your ticketing platform acts as the core database for all issued barcodes. It must support real-time validation and local database syncing.
Configure your settings in the Bilieter admin portal to match your event capacity. For an advanced event setup, view our full ticketing platform overview. Set up ticket limits and choose your target currency in the settings tab.
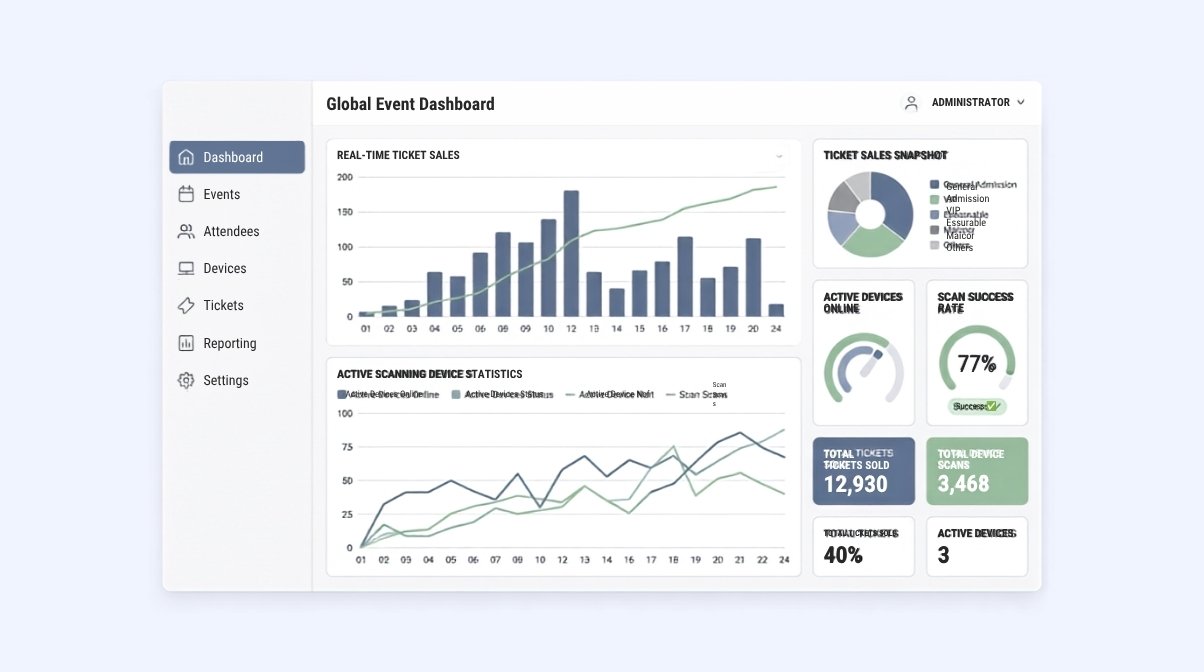
Assign distinct access roles for your event team within the ticketing platform. Door staff only require scanning permissions, while managers need access to database edits. Restricting these permissions prevents accidental settings changes during gates operations.
Many coordinators select a platform without offline scanning features. If the local internet drops, your gates stop working immediately. Fix this by choosing software that stores ticket keys in local memory caches.
A correct setup displays a green sync icon on the administrator portal. Your checkout page is online and ready for test transactions. Scan devices can download the database package.
Step 2: Integrate Your Payment Gateway
Security is critical when you accept online ticket payments. Your gateway must comply with strict financial regulations to protect buyer data. It must handle high transaction volumes during peak sales periods.
Connect a PCI-DSS compliant processor to your ticketing backend. Enter the API secret keys and configure the return URLs. Set the payment timeout parameter to ninety seconds in the checkout settings.
Configure your payment descriptor to display a clear business name on buyer bank statements. This prevents confusion and reduces chargeback requests from attendees who do not recognize the transaction. Set up automated email receipt delivery inside your processor dashboard.
Failing to test webhook responses for failed payments is a frequent error. This can lead to tickets being issued before payments clear. Fix this by enabling instant payment notifications in the gateway dashboard.
A correct setup shows an active connection status in your control panel. Test transactions will process successfully without errors. The gateway logs show the webhooks are receiving data.
Step 3: Design Ticket Tiers and Rules
Setting up ticket tiers helps you manage crowd density and event revenue. You can track exactly which areas of the venue sell out first. This data helps you adjust promotional efforts in real time.
Create separate entries for general admission, VIP passes, and staff credentials. Assign unique inventory counts and scan rules to each tier in the dashboard. Check the Eventbrite event trends report to optimize tier distributions.
Enable custom data collection fields for specific ticket tiers when selling VIP passes. You can ask for dinner choices, t-shirt sizes, or parking requirements during the purchase flow. Keep these questions optional to maintain check-out speed.
Creating too many ticket types with overlapping access rights is a common issue. This confuses gate staff and slows entry lines down. Fix this by keeping your options to under four distinct tiers.
Correct setup displays the right ticket limits on your checkout page. Scanners will play a distinct audio tone when a VIP ticket is validated. The system logs show separate sales metrics for each category.
Step 4: Configure the Registration Form
Collecting the right information during checkout helps you secure your event gates. You need attendee details to verify identities if scanning issues occur. This information also helps you detect bulk ticket purchasing fraud.
Enable fields for full name, email address, and phone number on the form. Keep the form simple to prevent buyers from abandoning their checkout carts. Set the ticket transfer policy to restricted to prevent unauthorized resale.
Set up automated calendar files to accompany every ticket confirmation email. This allows buyers to add your event details to their personal schedules with one click. Clear date and time listings reduce support queries before event day.
Requesting too much detail during checkout is a frequent error. This increases purchase time and reduces total sales conversions. Fix this by asking only for essential contact information.
A correct setup shows a simple checkout flow that takes under two minutes. The buyer receives a clean ticket PDF with a high-contrast QR code. Your admin database logs the attendee information instantly.
Step 5: Select and Setup Scan Hardware
Your scanning hardware is the frontline of event entry operations. Devices must read barcodes rapidly under harsh conditions. They need to scan in direct sunlight or dark entry tunnels.
Download the official validation app onto your scanning hardware. Set camera autofocus parameters and adjust screen brightness to the maximum level. Configure the local sync interval to ten seconds in the app preferences.
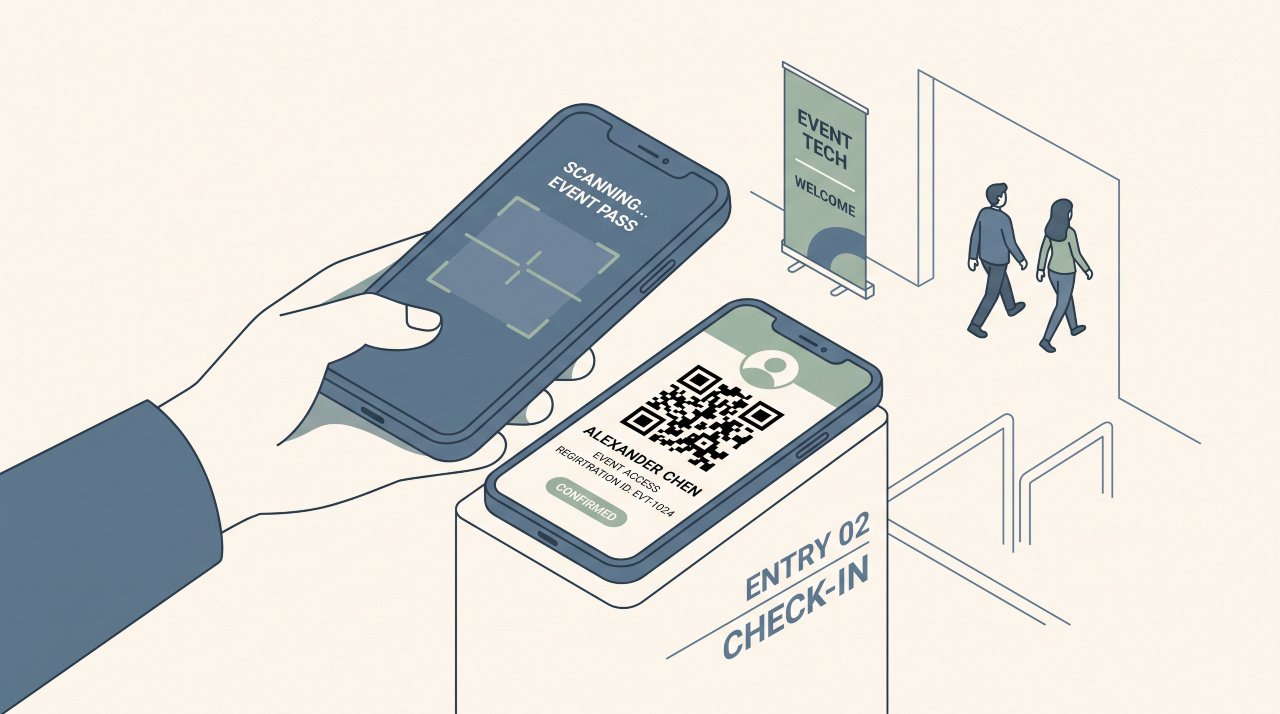
Prepare backup power accessories for all scanning hardware before gates open. Mobile device batteries drain quickly when screens remain at maximum brightness for hours. Keep portable battery banks and charging docks at each gate station.
Relying on standard mobile cameras in low-light conditions causes many failures. This slows down the queue as cameras struggle to focus on phone screens. Fix this by attaching hardware laser scanners or using built-in LED flashes.
Correct setup means devices read a sample barcode in under half a second. The screen displays a clear green confirmation message. Your device logs update the attendee count in real time.
Step 6: Deploy a Local Network at the Venue
Scanners require constant communication to prevent duplicate ticket entries. If the connection fails, attendees could enter multiple times using photocopied tickets. A dedicated local network is necessary to maintain security.
Configure a dedicated wireless router reserved only for scan hardware. Set the broadcast frequency to a quiet five gigahertz channel. Bind static IP addresses to each device in the router settings.
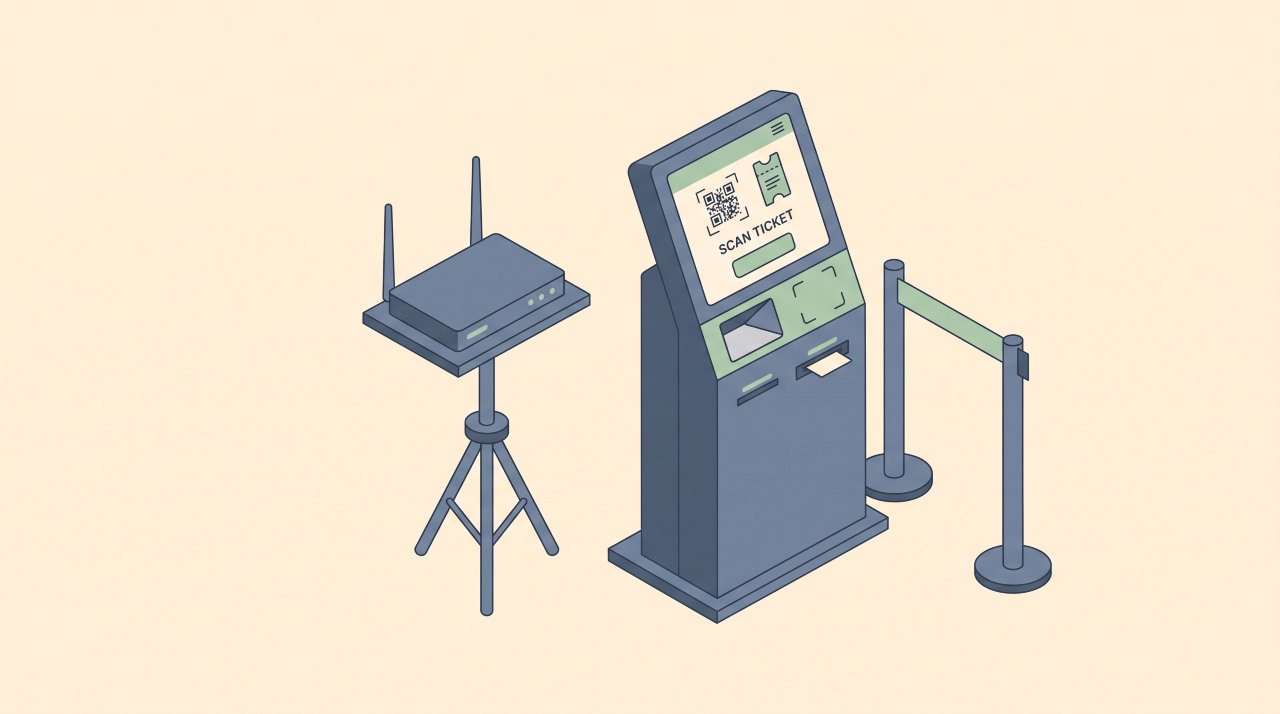
Mount your wireless routers in high, central positions above the crowd line. Human bodies block wireless signals and can reduce your network communication range significantly. Position antennas away from metal walls or interference sources.
Sharing the gate staff network with event attendees is a critical error. Heavy public traffic clogs the bandwidth and stops ticket validation. Fix this by hiding the SSID and using strong WPA3 encryption passwords.
Correct setup shows scanner devices pinging the local gateway under ten milliseconds. The network remains clear of unauthorized mobile devices. A secondary cellular hotspot is active in standby mode.
Step 7: Train and Position Gate Staff
Well-trained door staff keep lines moving and resolve entry problems quickly. The best ticketing platform fails if operators cannot interpret device screens. Staff need clear guidelines for handling check-in errors.
Conduct a practice session two hours before gates open to the public. Instruct staff how to read screen messages and adjust phone brightness. Read industry event reports for gate staffing recommendations.
Plan staff rotations every two hours during peak entry times to prevent scanner fatigue. Tired operators make mistakes, miss duplicate alerts, and slow down entry queues. Keep backup staff ready to step in when lines grow.
Allowing staff to troubleshoot complicated ticket errors at the main gate is a major mistake. This blocks the entry point and creates long delays. Fix this by directing all ticket exceptions to the customer service desk.
Correct setup ensures every operator has a printed guide showing error messages. Staff can verify a test ticket and handle a screen glare issue. The support team is ready at the customer service table.
Step 8: Perform a Pre-Event Dry Run
Conducting a complete dry run ensures all systems work together before gates open. You need to verify that checkout sales sync with scanning hardware instantly. This test reveals hidden network bottlenecks or software bugs.
Purchase ten test tickets using different credit card credentials. Scan these test tickets at the gates using various devices on the network. Turn off the primary internet router to test the offline database backup.
Clear all test databases and transaction logs before the live event begins. Leaving test tickets active in the database can cause real buyers to receive duplicate error messages. Verify that the check-in count resets to zero.
Testing only one device on a strong connection is a frequent error. This fails to simulate the real stress of thousands of concurrent scans. Fix this by scanning multiple tickets simultaneously on all gate devices.
A successful dry run shows all test tickets marked as validated in the admin panel. The scanners display correct error messages for duplicate scans. Local databases sync without data loss.
Common Pitfalls to Avoid
Planning event gate operations requires anticipating technical and human errors. Small issues at the door can expand into major crowd safety concerns. You must prepare solutions for these common problems before gates open.
| Pitfall | Operational Impact | Solution |
|---|---|---|
| Sharing Wi-Fi with public | Network clogs, scans fail, entry stops | Hide SSID and use WPA3 encryption |
| Standard camera scanning | Slow focus in low light, lines grow | Attach laser scanners or use LED flashes |
| No offline database backup | Internet drop halts all gate validation | Choose systems with local storage cache |
| Troubleshooting at gates | Main entry blocks, crowd gets frustrated | Route exceptions to support desk |
Frequently Asked Questions
How do I set up a digital ticketing system for my event?
You begin by registering your event on an online portal like Bilieter. Connect your payment processor, configure ticket quantities, and publish the registration page. Staff then download the scanning app to validation devices for gate control.
What equipment is needed for digital ticket scanning?
You can use standard mobile devices running Android or iOS. Ensure the devices have autofocus cameras and install the ticketing system app. For large events, use dedicated handheld laser scanners to speed up gate verification.
How does digital ticketing prevent ticket fraud?
Each digital ticket contains a unique encrypted barcode. The validation database marks this barcode as used the instant it is scanned. If someone attempts to scan a duplicate copy, the system alerts the gate operator.
Can digital ticketing systems work offline during an event?
Yes, if you configure the software correctly. Many platforms allow you to sync the entire guest database to the local device memory. Scanners can then validate barcodes offline and upload sync records once the connection restores.
How do I handle attendees who do not have a smartphone?
You can offer a print-at-home PDF ticket option during checkout. Attendees present the paper printout at the gate, which staff scan like a mobile screen. You can also look up their registration details by name on the admin dashboard.
Summary
Transitioning to a digital entry system improves gate flow and security. Setting up your software, gateway, and network beforehand prevents gate delays on event day. Do not skip the dry run testing phase with your staff.
You can download the Bilieter gate setup checklist to prepare your staff. Bookmark this guide to review scanner configurations before your next gate opening. If you want to learn more about how digital ticketing works, check out our details.
Sharing this guide with your venue managers helps align gate protocols. A stable digital gate system protects your revenue and provides a better experience for attendees.